How to Make a Laptop Sleeve
Introduction
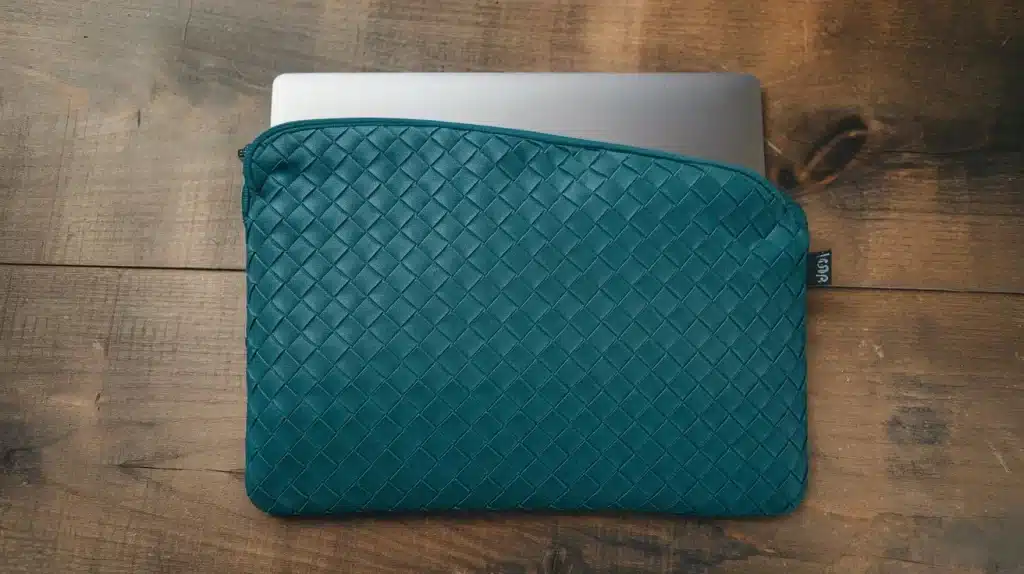
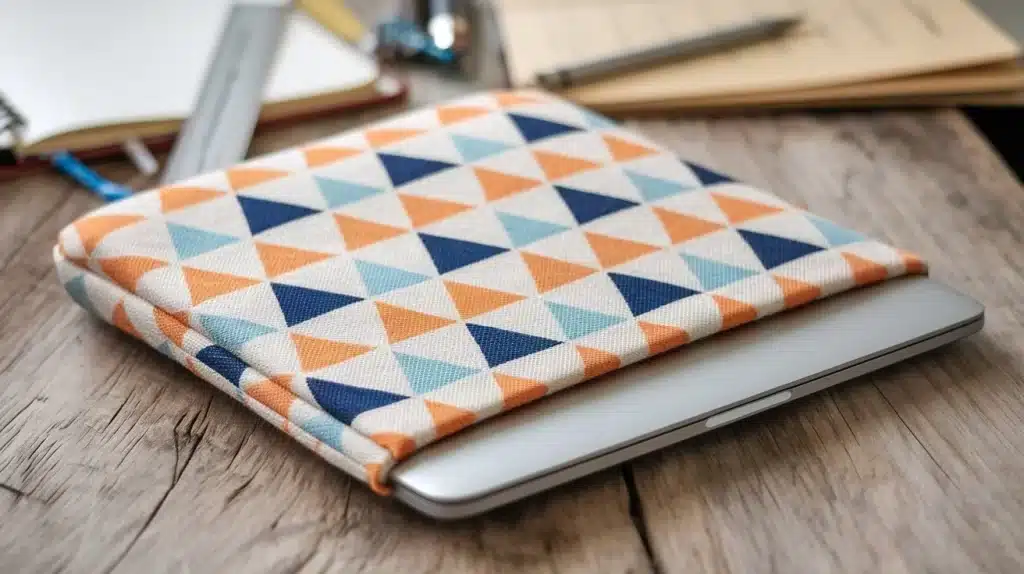
Protecting your laptop is essential, given how much we rely on our devices for work, study, and entertainment. A good laptop sleeve can guard against scratches, dust, and minor impacts, but buying one from a store can often feel impersonal and may not meet all your needs. Creating your own laptop sleeve allows you to choose the perfect materials, design it to your exact specifications, and add a personal touch. Whether you’re looking for something durable, waterproof, or simply stylish, a DIY laptop sleeve is a fun, practical project.
This guide will walk you through the entire process, from selecting materials to sewing the final product, ensuring that your laptop sleeve is not only functional but also uniquely yours.
Materials Needed for Making a Laptop Sleeve
Before diving into the project, gather all necessary materials. The materials you choose will determine the overall look, feel, and functionality of your laptop sleeve.
- Fabric: Choose a sturdy, durable material for the outer layer. Options include cotton, denim, canvas, felt, leather, or neoprene (the material used in wetsuits). Each offers a different level of protection and style.
- Padding: For added protection, consider using foam padding or quilt batting. These materials will cushion your laptop from minor impacts.
- Lining Fabric: A soft fabric like fleece, microfiber, or cotton is perfect for the inside, helping to prevent scratches.
- Closure Materials: Depending on your preference, you’ll need a zipper, Velcro, or buttons to secure the sleeve.
- Other Tools: A sewing machine, thread, measuring tape, fabric scissors, pins, and fabric markers will be essential.
Measuring Your Laptop for the Perfect Fit
A key aspect of making a laptop sleeve is ensuring it fits your laptop perfectly. Here’s how to measure:
- Height: Measure the vertical distance from the bottom to the top of your laptop.
- Width: Measure the horizontal distance from one side to the other.
- Depth: Measure the thickness of your laptop, from the bottom to the top when closed.
Once you have these measurements, add around 1 inch (2.5 cm) to each dimension for seam allowances and padding.
Choosing the Right Fabric for Durability
The fabric you choose will directly impact both the sleeve’s durability and style. Here are some common fabric types:
- Cotton: Lightweight, breathable, and easy to work with. However, it offers less protection compared to heavier fabrics.
- Canvas or Denim: Tough, durable, and provides decent protection.
- Leather: Stylish, strong, and resistant to wear. It’s also waterproof, but more challenging to work with.
- Neoprene: Known for its water-resistant and cushioning properties, neoprene is an excellent option if you want more impact protection.
For added protection, you may want to choose waterproof fabrics or fabrics with a scratch-resistant surface.
Cutting the Fabric for Your Laptop Sleeve
Once you’ve measured your laptop and selected your fabric, it’s time to cut the material. Here’s a step-by-step guide:
- Lay your fabric on a flat surface.
- Use the measurements you took earlier and mark out the size of the laptop plus the added seam allowance on your fabric.
- Cut two pieces of fabric (one for the front, one for the back) for both the outer fabric and lining fabric.
Take care when cutting, as precise measurements are crucial for a snug fit.
Adding Padding for Extra Protection
For those looking to give their laptop extra protection, adding padding is a must. Padding options include:
- Quilt batting: Lightweight and easy to sew, offering basic cushioning.
- Foam sheets: Thicker and offers more protection against impacts.
To attach padding, sew it to the wrong side of your outer fabric before assembling the sleeve.
Sewing the Main Body of the Laptop Sleeve
Once the fabric is cut and padding is attached, it’s time to start sewing. Follow these steps for creating the main body:
- Layer the fabrics: Lay the outer fabric and the lining fabric on top of each other, with the right sides facing inward.
- Pin the sides: Pin the two layers together, making sure the edges are aligned.
- Sew around three sides: Using a sewing machine, sew the sides and bottom edge, leaving the top open for inserting the laptop.
- Trim excess fabric: Once sewn, trim any excess fabric from the seams to reduce bulk.

Installing a Zipper or Velcro Closure
A closure keeps your laptop securely in the sleeve. Depending on your preference, you can use a zipper, Velcro, or buttons. Here’s how to install a zipper:
- Position the zipper: Pin the zipper to the open top edges of the sleeve with the right sides facing inward.
- Sew the zipper: Using a zipper foot attachment on your sewing machine, sew along both sides of the zipper, securing it in place.
- Test the zipper: Before sewing the final seam, check that the zipper opens and closes smoothly.
Creating a Lining for Your Laptop Sleeve
Adding a lining helps protect your laptop from scratches. It also gives the sleeve a professional, finished look.
- Sew the lining: After sewing the outer fabric, repeat the same process with your lining fabric, but leave the top open.
- Attach the lining: Once both the outer fabric and lining are sewn, turn the outer fabric right-side out and slide the lining inside. Secure the lining with a few stitches at the edges.
Adding Pockets and Extra Storage
For added convenience, you might want to include pockets for accessories like chargers, notebooks, or pens.
- Design pockets: Determine the size and number of pockets based on what you plan to carry.
- Sew pockets: Attach the pockets to the inside or outside of the sleeve before sewing the main body together.
Customizing Your Laptop Sleeve Design
This is where you can truly make the sleeve your own:
- Embroidery or Appliqué: Add custom embroidery or appliqué designs for a personal touch.
- Patches: Attach patches or fabric paint for a more artistic design.
- Handles or Straps: Consider sewing on handles or straps for easier carrying.
Finishing Touches and Final Inspection
Before completing your project, go over every detail:
- Check the stitching: Ensure that all seams are secure and there are no loose threads.
- Test the fit: Place your laptop inside the sleeve to check the fit. Make any necessary adjustments.
- Smooth out the edges: Iron the sleeve to smooth out any wrinkles.
Alternative Methods for a No-Sew Laptop Sleeve
If you don’t have access to a sewing machine, you can still make a great laptop sleeve with no-sew techniques:
- Fabric glue: Use fabric glue to bond the edges of the fabric.
- Adhesive Velcro: Stick-on Velcro can be used to close the sleeve.
Materials like felt or neoprene are best for this method since they don’t fray.
Caring for Your DIY Laptop Sleeve
To ensure your laptop sleeve lasts, follow these care tips:
- Cleaning: Wash the sleeve by hand or in a machine (if the materials allow) to remove dust and dirt.
- Repairs: Fix any loose stitching or worn areas immediately to maintain protection.
Cost-Effective vs. Store-Bought Laptop Sleeves
Making your own laptop sleeve is not only fun, but also cost-effective. Here’s a quick comparison:
- DIY sleeve: Costs between $10-$30 depending on the materials, and allows for complete customization.
- Store-bought sleeve: Can range from $20-$100, but may not always provide the exact features you need.
Frequently Asked Questions (FAQs)
- How long does it take to make a laptop sleeve?
- It usually takes 1-2 hours depending on the complexity.
- Can I make a sleeve for any laptop size?
- Yes, by measuring your laptop and adjusting accordingly.
- What fabrics are most durable for laptop sleeves?
- Leather, canvas, and neoprene offer excellent durability.
- How can I make my laptop sleeve waterproof?
- Use waterproof fabrics like vinyl or neoprene, or treat fabric with a waterproof spray.
- Is it possible to create a sleeve without a sewing machine?
- Yes, you can use fabric glue or adhesive Velcro for a no-sew option.
- How much does it cost to make a DIY laptop sleeve?
- Costs vary, but generally range between $10-$30 depending on materials used.
I have been surfing online more than 3 hours today, yet I never found any interesting
article like yours. It is pretty worth enough for me.
In my view, if all site owners and bloggers made good content as you did,
the net will be a lot more useful than ever before.
مجله اینترنتی لیدی شو